
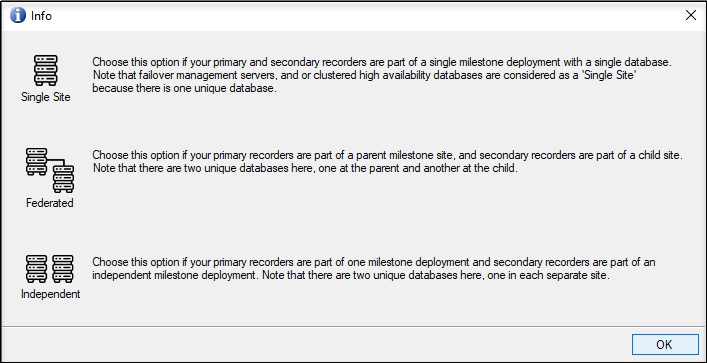
Single Site
Follow this section if your deployment has a single database. Note that clustered, failover or other HA databases are considered a single database.
Perform the following steps for a Single Site architecture:
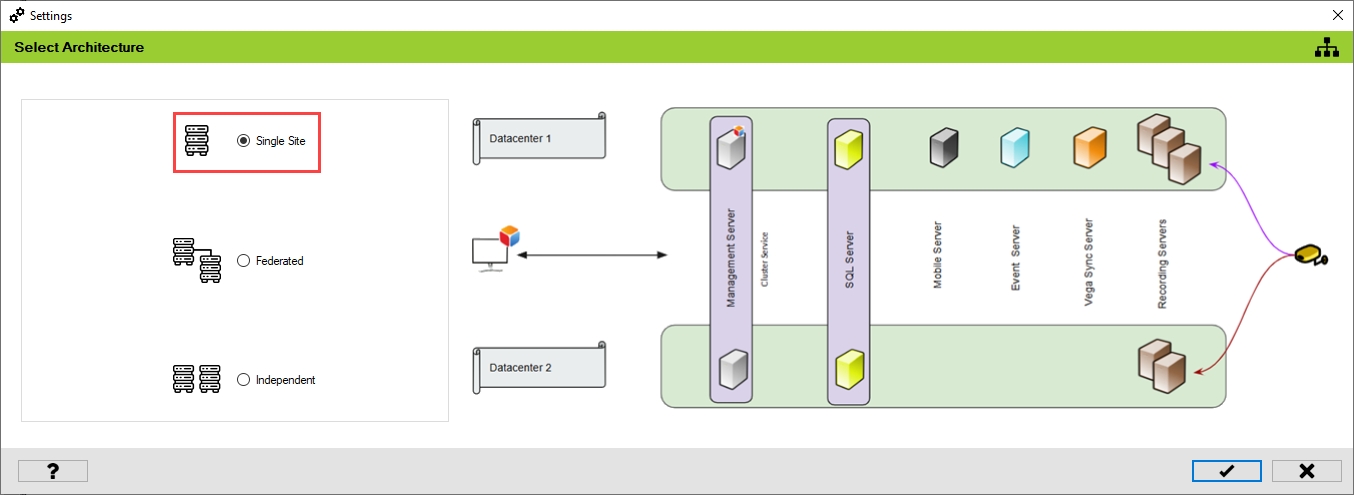
Select the Single Site architecture option.
For First-time configuration, the following screen will appear.
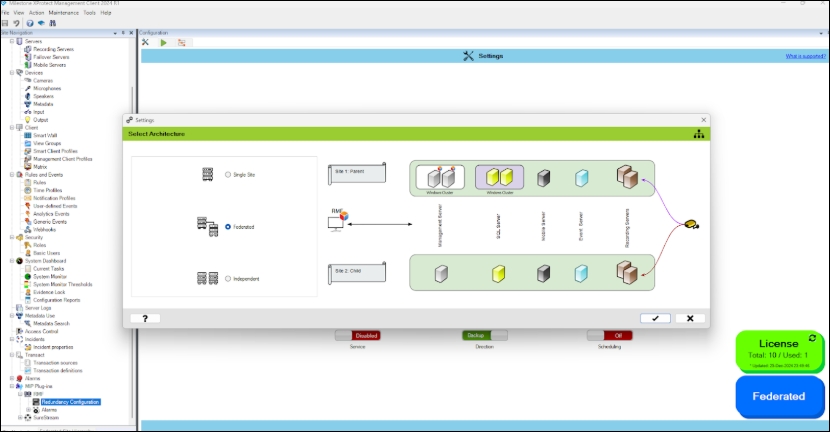
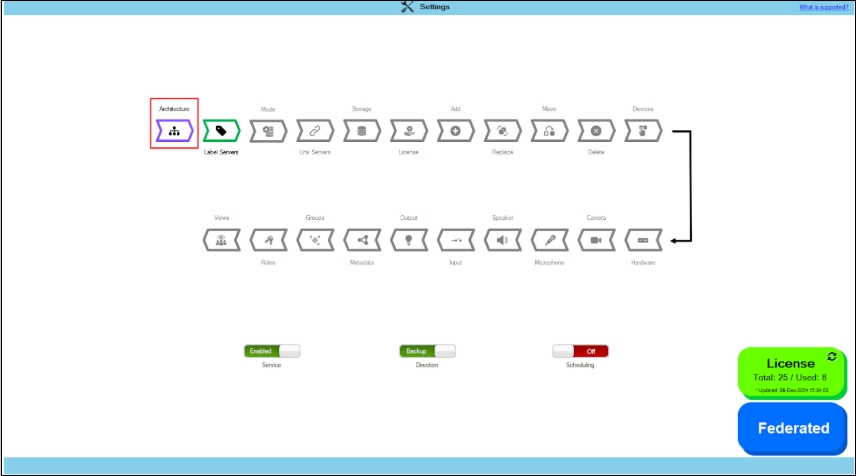
For subsequent architectural changes, click the Architecture button on the following screen.
For more information, click the Help icon.
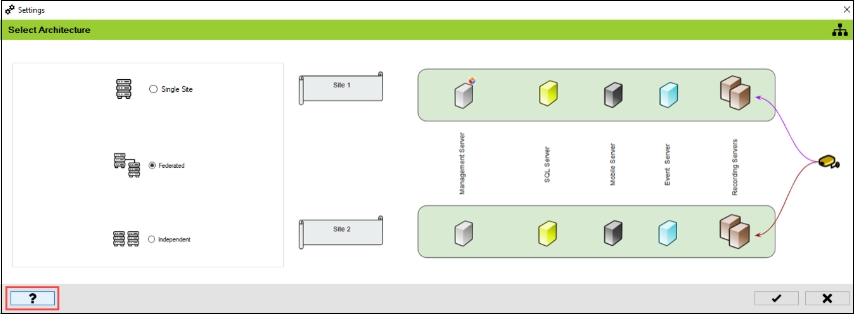
Choose the architecture that represents the XProtect deployment at the site. In this scenario, select Single Site.
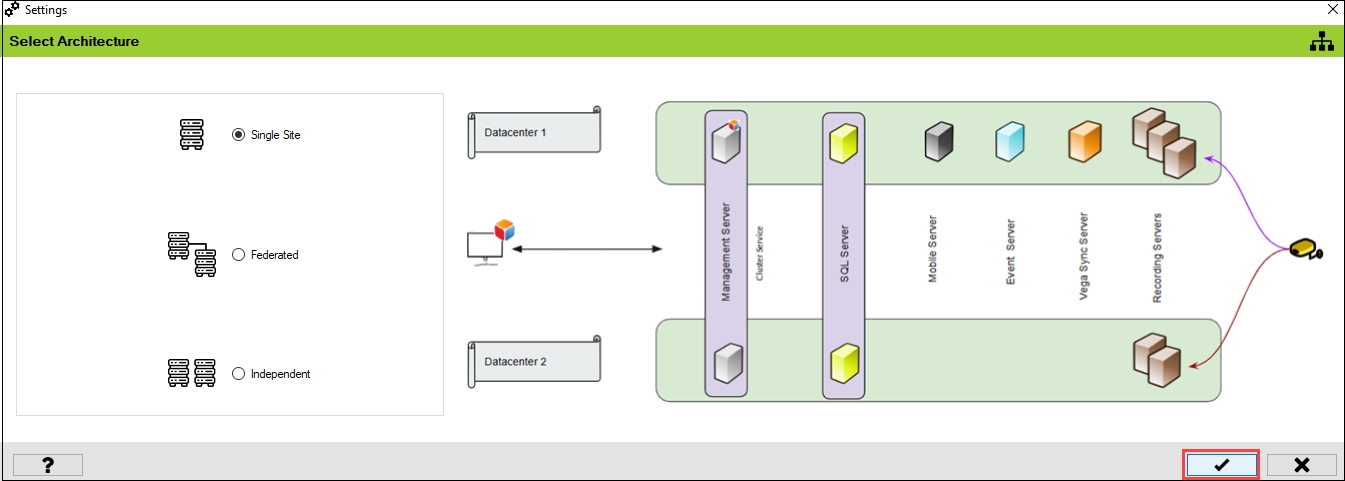
Click the tick mark at the bottom of the screen to save the architecture.
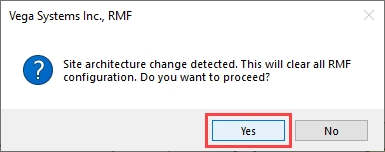
Click Yes to confirm.
Click the Save icon in the top left corner of the Milestone toolbar to apply the changes.

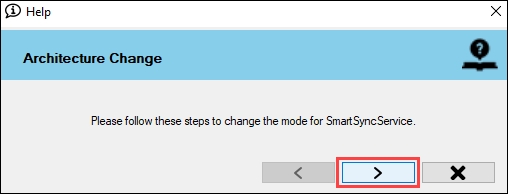
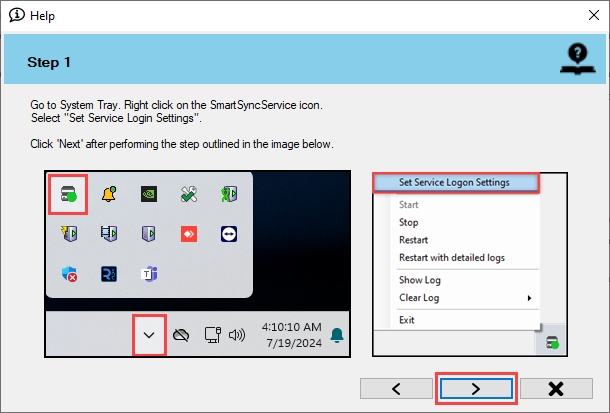
Step 1: Navigate to System Tray -> Right-click SmartSyncService -> Set Service Logon Settings.
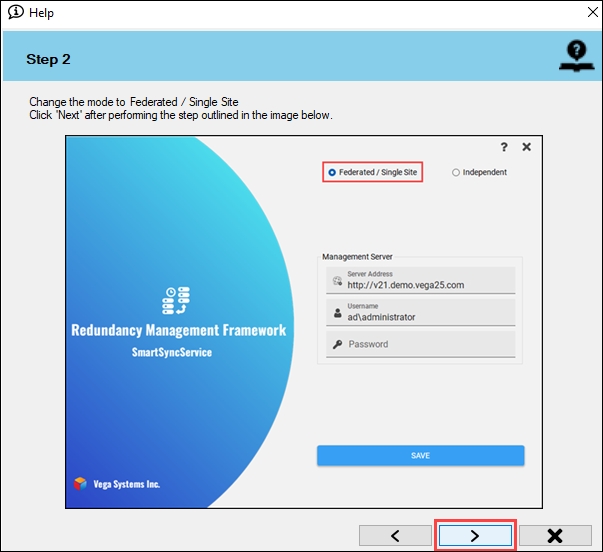
Step 2: Select Federated/Single Site.
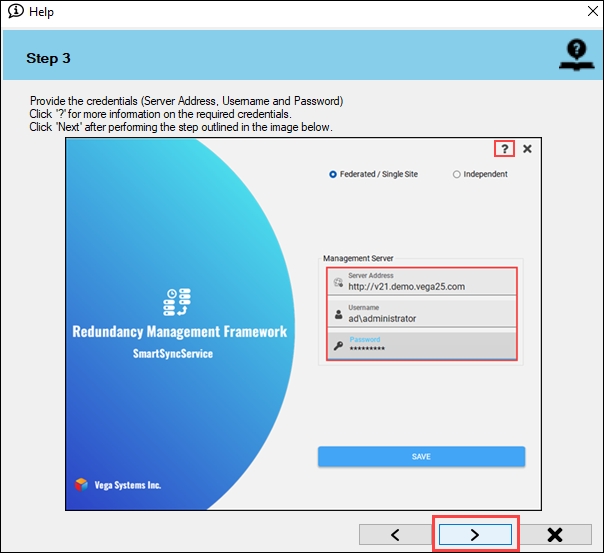
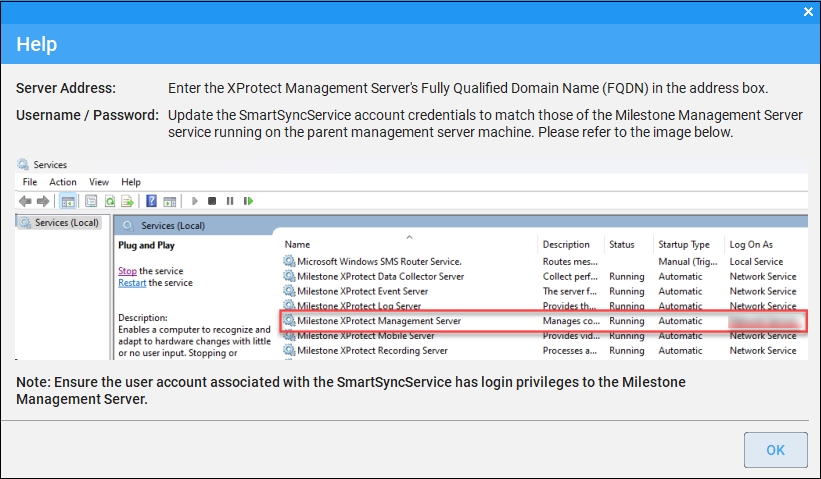
Step 3: Provide the credentials. Click the Help icon for more information.
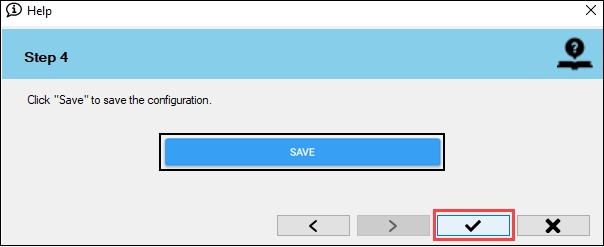
Step 4: Click Save to save the configuration.
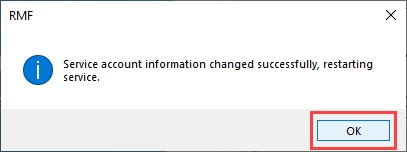
Click OK.
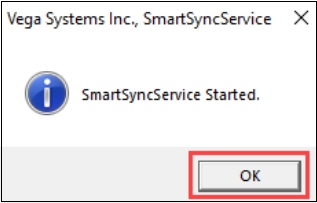
Click OK.
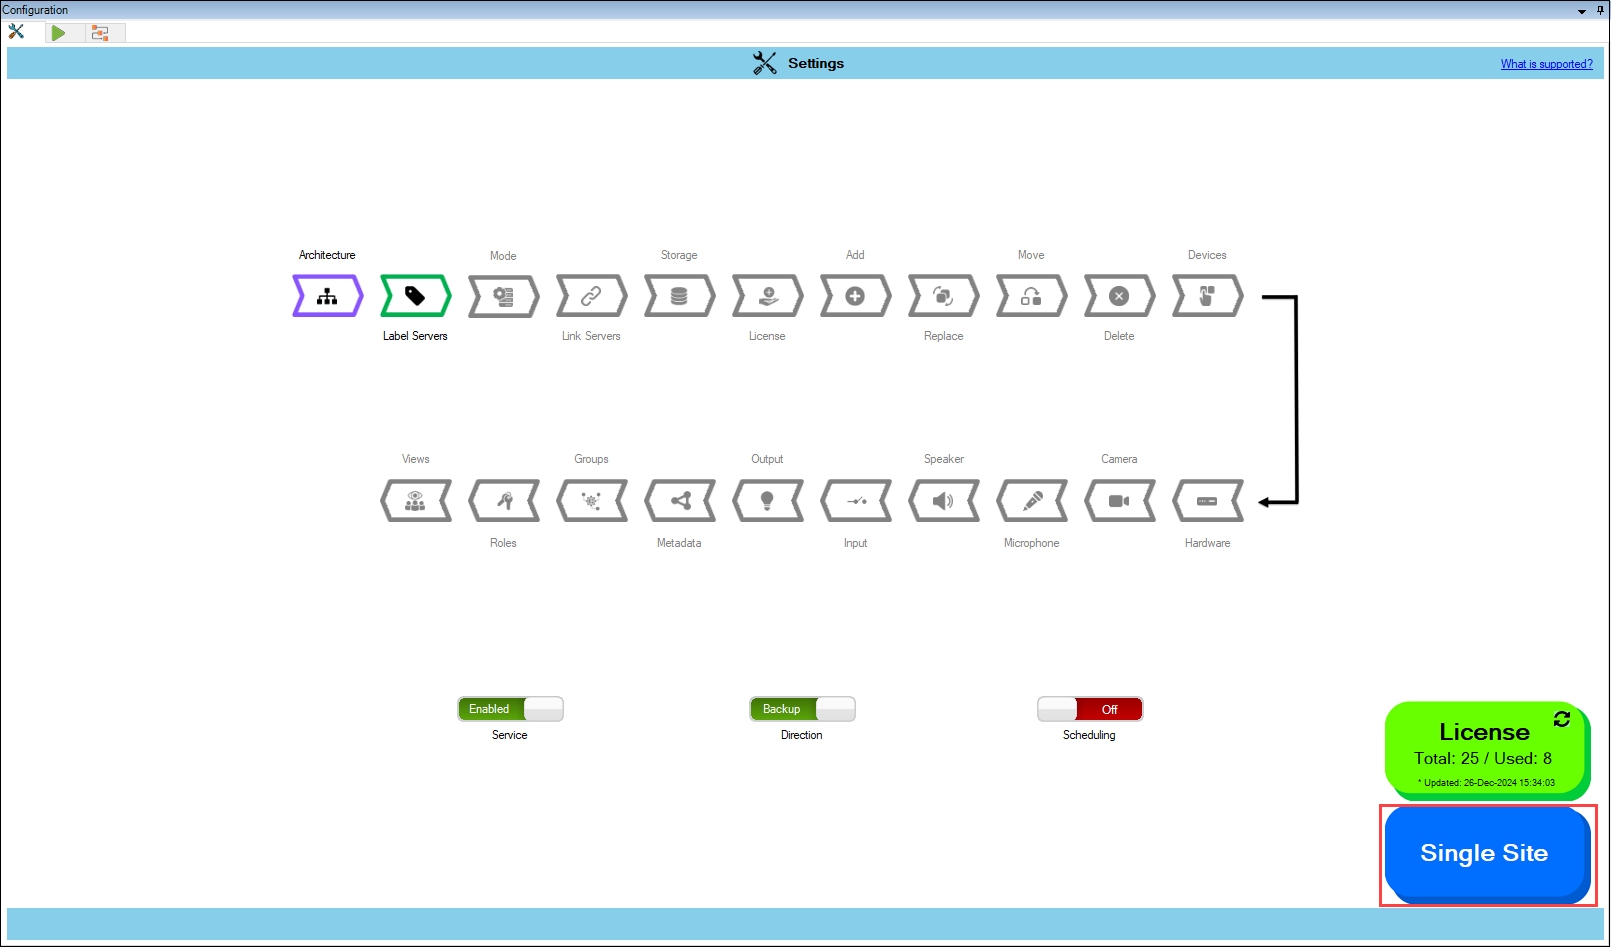
Verify that the Single Site architecture type has been configured successfully. The selected architecture will be displayed at the bottom right.
Last updated