Set Service Logon Settings
Log in to SmartSync Service.
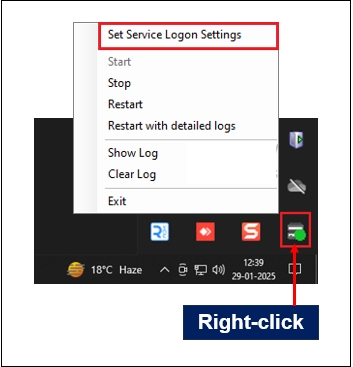
To set the SmartSync Service Logon settings, perform the following steps:
Select the Set Service Logon Settings option.
If your XProtect deployment is Federated or a Single Site, select Federated/Single Site; one of these, enter the credentials and click Save.
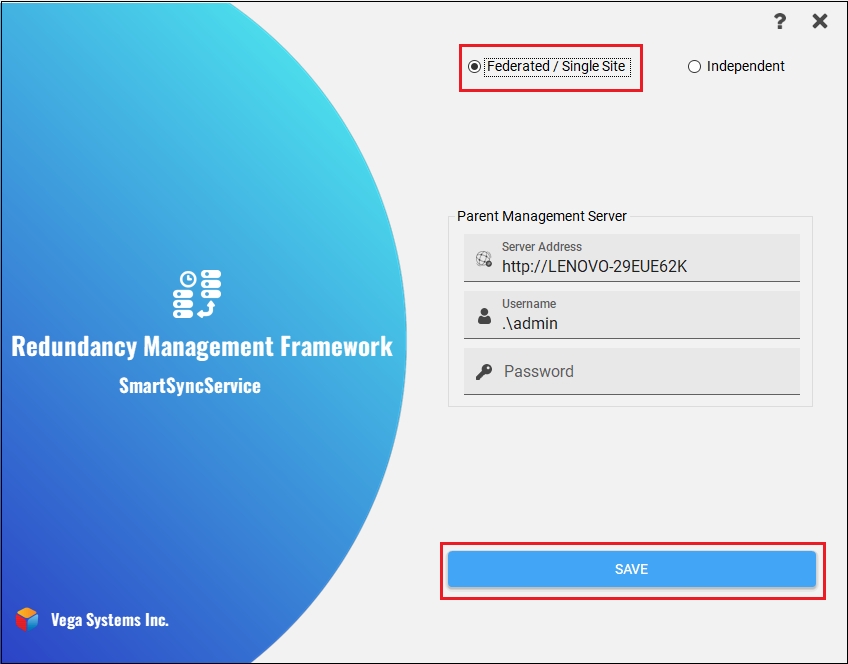
Otherwise, if you have independent XProtect deployments that you wish to synchronize, select Independent, enter the credentials, and click Save.
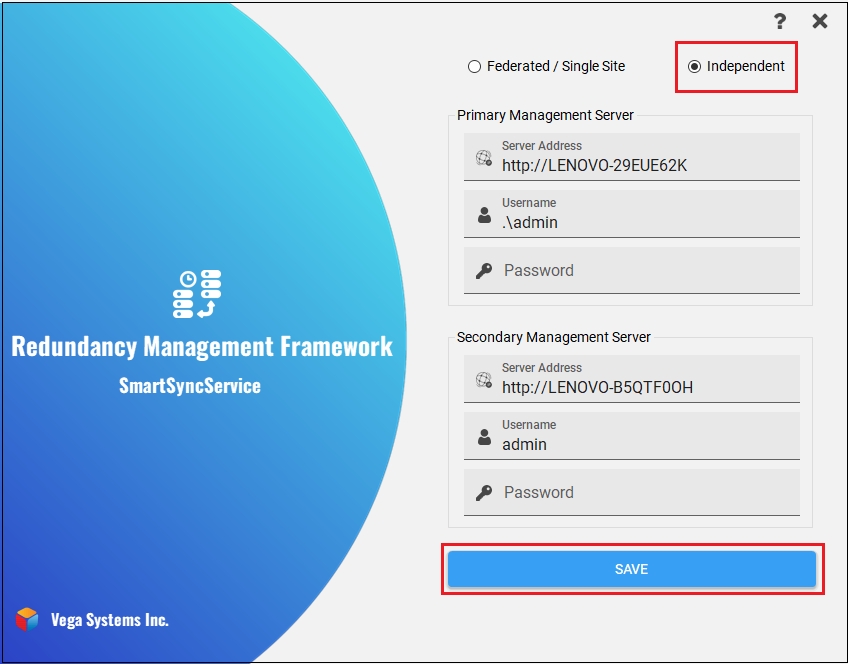
Click the Help icon to view the Help information.
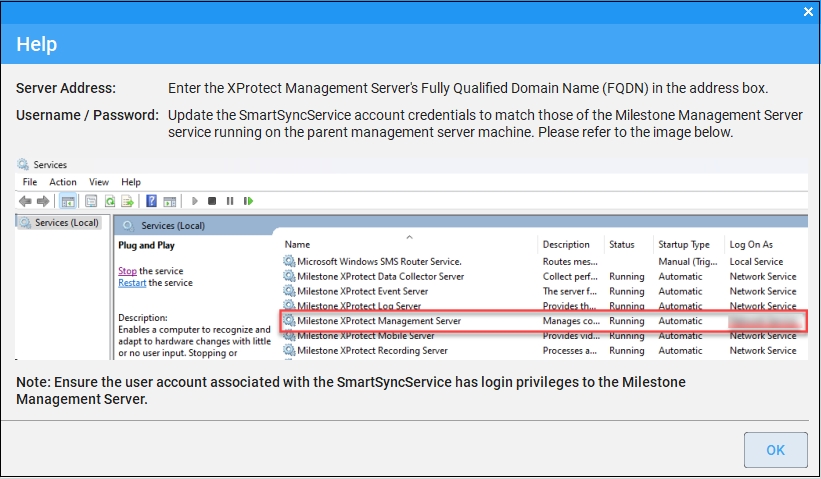
Click the Help icon to view the Help information.
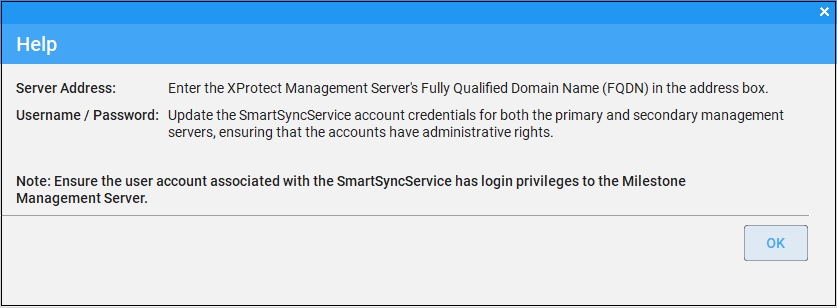
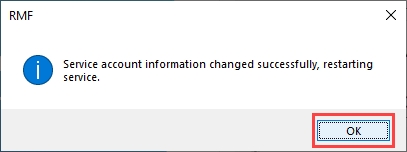
Click OK on the confirmatory dialog box—the SmartSync service restarts.