LogoLogo
Vega Systems IncRedundancyXPort
Redundancy Management Framework
  • 👋Introduction
  • 🗒️Release Notes
    • 7.4.0
    • 7.2.3
    • 7.2.2
    • 7.2.1
    • 7.2.0
    • 7.1.9
    • 7.1.8
    • 7.1.7
    • 7.1.6
    • 7.1.5
    • 7.1.4
    • 7.1.3
    • 7.1.2
    • 7.1.0
  • 🗝️Key Features
  • 💠Software Components
  • 🏗️Architecture Options
    • Federated
    • Independent
    • Single Site
  • 🗺️What to Install Where
    • Federated
      • Non-Clustered Mode
      • Clustered Mode
    • Independent
      • Non-Clustered Mode
      • Clustered Mode
    • Single Site
      • Non-Clustered Mode
      • Clustered Mode
  • 👨‍💻Installation
    • Pre-Installation
    • Manual Installation
      • RMF Services (Manual)
      • RMF Client (Manual)
    • Silent Installation
      • RMF Services (Silent)
      • RMF Client (Silent)
    • Post-Installation
      • Validate the Installation of RMF Services and UI
      • Validate the Installation of RMF Smart Client Components
    • Uninstallation
      • Manual Uninstallation
      • Silent Uninstallation
  • 🏷️License Activation
    • Online Activation
    • Offline Activation
      • Export License for Activation
      • Import Activated License
  • ⚙️Configuration Dashboard
    • Accessing the RMF Config Dashboard
    • Enable the SmartSync Service
      • Smart Sync Service Service Tray
        • Set Service Logon Settings
        • Start
        • Stop
        • Restart
        • Restart with detailed logs
        • Show Log
        • Clear Log
        • Exit
    • Set Synchronization Direction
      • Backup Mode
      • Restore Mode
    • Architecture Selection
      • Single Site
      • Federated
      • Independent
    • Server Labeling
    • Mode Selection
    • Server Linking
    • Storage Linking
    • Licensing
    • Add Camera
    • First Synchronization Run
    • Replace Camera
    • Move Camera
    • Delete Camera
    • Device Selection
    • Synchronize Hardware
    • Synchronize Camera
    • Synchronize Microphone
    • Synchronize Speaker
    • Synchronize Device Input
    • Synchronize Device Output
    • Synchronize Metadata
    • Synchronize Groups
    • Synchronize Roles
    • Synchronize Views
    • Scheduling Runs
      • Enable the SmartSync Scheduling
      • Disable the SmartSync Scheduling
  • ▶️Run Dashboard
    • Accessing the Dashboard
    • Run/Process Dashboard Details
  • 📊Workflows Dashboard
    • Accessing the Dashboard
    • Replicate Devices
    • Find and Fix Inconsistencies
    • Stream Selection
    • Roles Synchronization
    • Camera Password Updater
    • Reaction Time
    • Failback
    • Priority
    • Overlay
    • Logging
    • Export Log
    • Web API
    • Tune Performance
  • 💻High Availablity in the Smart Client
    • Prerequisites
    • Creating a High Availability View
    • High Availability Live Views
    • High Availability Playback
    • High Availability Independent Playback
    • PTZ Preset Management
      • Add PTZ Preset
      • Update PTZ Preset
      • Delete PTZ Preset
    • Video Export
    • High Availablity Bookmarks
    • Unified Start/Stop Recording Control
    • Joystick Support
    • Snapshot
  • 🔗Rest API
  • 🧩Integrations
    • VMS
    • PSIM
  • 👷Migration In Progress
Powered by GitBook
LogoLogo

Library

  • Redundancy
  • XPort

Website

  • Home
  • Contact Us

Privacy Policy

  • Policy

© 2025 Vega Systems Inc. All rights reserved.

On this page
Export as PDF
  1. High Availablity in the Smart Client

Creating a High Availability View

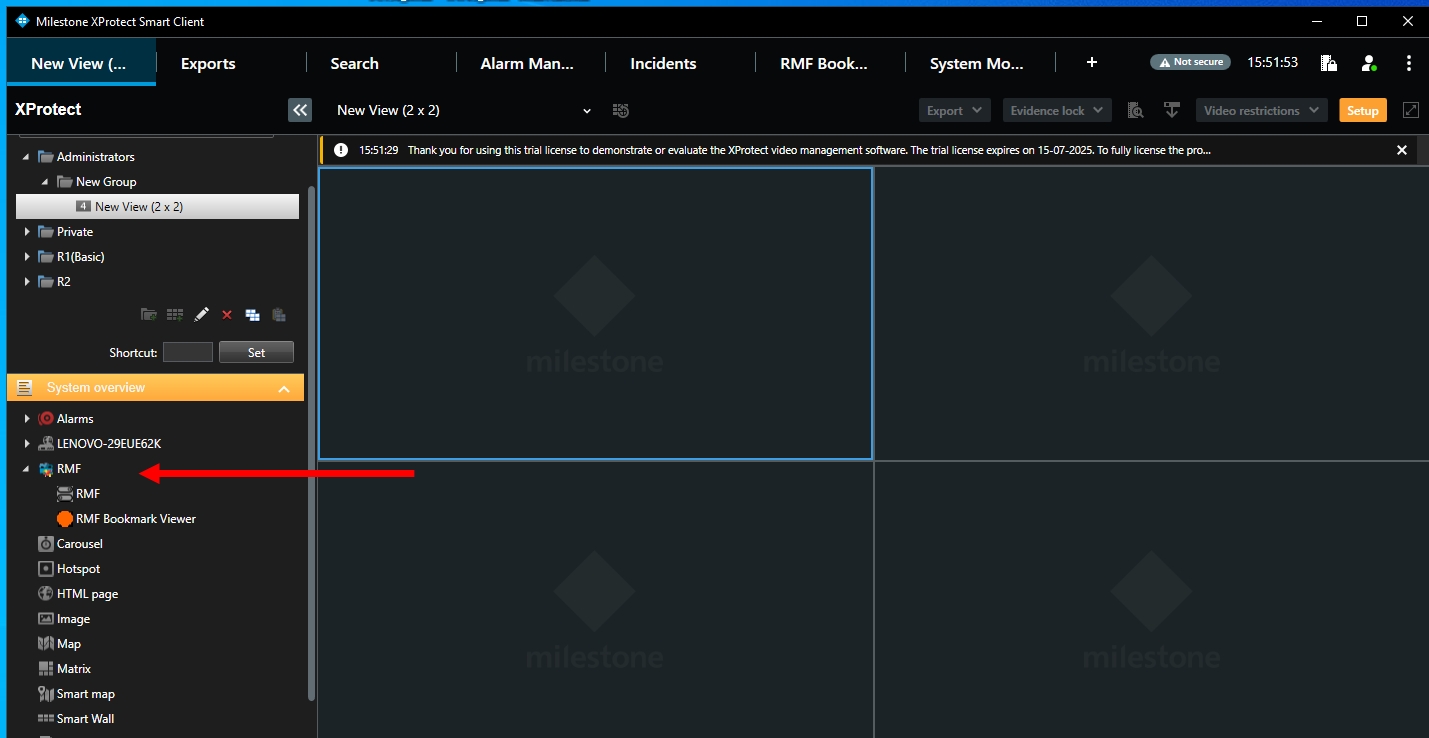
Creating an RMF View

PreviousPrerequisitesNextHigh Availability Live Views

Last updated 6 days ago

RMF's Smart Client features are only available in the Single Site or Federated modes of operation. Use a PSIM that integrates with the RMF API to achieve such functionality in the Independent mode of operation.

The RMF Smart Sync service automatically generates RMF views that correspond to native Milestone Smart Client views. As the admin makes changes to view layouts for each role, these changes are automatically synchronized into the corresponding RMF views. For more details, refer to

However, administrators may want to create an RMF view manually for each role and not use native views. The steps below illustrate this process.

1

Log in to the Smart Client.

  1. Open the XProtect Smart Client.

Log in Page
  1. Log in to the Parent Management Server using domain user credentials (for Federated Deployments) or log in to the sole Management Server (for Single Site Deployments).

2

Navigate to Create a new Group.

  1. Navigate to view the list of folders

  2. Using the right mouse button (right-click), select New Group.

  3. Name the Group.

3

Select a View Layout

  1. Choose a layout (for example, 2x2, 3x3, etc.) based on how many cameras you want to view at once.

4

Drag/Drop the RMF plugin to each view window

  1. Click the Setup Mode button on the right of the window.

  2. On the left pane, find the RMF plugin listed.

  3. Drag/Drop the plugin to each view.

5

Select an RMF-licensed Camera

  1. Click the C button at the top left corner of each RMF view window.

  2. Select an RMF-licensed camera from the list of cameras.

  3. Click the Setup button to exit setup and enter Live Mode.

  4. View high-availability Live Streams.

Federated Deployments

Note that RMF view windows are created only at the parent site during Federated Deployments because we assume the primary set of streams is recorded there. The secondary set is recorded at the child site. For stream-level failover to occur, the logged-in user must have access to both sites, which is only possible with a parent site login.

The RMF SmartSync Service also creates a set of native (non-RMF) views at the child site. If the parent site is offline, users can log in directly to the child site and view the same cameras in their familiar views. SeeSynchronize Views.

💻
Synchronize
Views.