LogoLogo
Vega Systems IncRedundancyXPort
Redundancy Management Framework
  • 👋Introduction
  • 🗒️Release Notes
    • 7.4.0
    • 7.2.3
    • 7.2.2
    • 7.2.1
    • 7.2.0
    • 7.1.9
    • 7.1.8
    • 7.1.7
    • 7.1.6
    • 7.1.5
    • 7.1.4
    • 7.1.3
    • 7.1.2
    • 7.1.0
  • 🗝️Key Features
  • 💠Software Components
  • 🏗️Architecture Options
    • Federated
    • Independent
    • Single Site
  • 🗺️What to Install Where
    • Federated
      • Non-Clustered Mode
      • Clustered Mode
    • Independent
      • Non-Clustered Mode
      • Clustered Mode
    • Single Site
      • Non-Clustered Mode
      • Clustered Mode
  • 👨‍💻Installation
    • Pre-Installation
    • Manual Installation
      • RMF Services (Manual)
      • RMF Client (Manual)
    • Silent Installation
      • RMF Services (Silent)
      • RMF Client (Silent)
    • Post-Installation
      • Validate the Installation of RMF Services and UI
      • Validate the Installation of RMF Smart Client Components
    • Uninstallation
      • Manual Uninstallation
      • Silent Uninstallation
  • 🏷️License Activation
    • Online Activation
    • Offline Activation
      • Export License for Activation
      • Import Activated License
  • ⚙️Configuration Dashboard
    • Accessing the RMF Config Dashboard
    • Enable the SmartSync Service
      • Smart Sync Service Service Tray
        • Set Service Logon Settings
        • Start
        • Stop
        • Restart
        • Restart with detailed logs
        • Show Log
        • Clear Log
        • Exit
    • Set Synchronization Direction
      • Backup Mode
      • Restore Mode
    • Architecture Selection
      • Single Site
      • Federated
      • Independent
    • Server Labeling
    • Mode Selection
    • Server Linking
    • Storage Linking
    • Licensing
    • Add Camera
    • First Synchronization Run
    • Replace Camera
    • Move Camera
    • Delete Camera
    • Device Selection
    • Synchronize Hardware
    • Synchronize Camera
    • Synchronize Microphone
    • Synchronize Speaker
    • Synchronize Device Input
    • Synchronize Device Output
    • Synchronize Metadata
    • Synchronize Groups
    • Synchronize Roles
    • Synchronize Views
    • Scheduling Runs
      • Enable the SmartSync Scheduling
      • Disable the SmartSync Scheduling
  • ▶️Run Dashboard
    • Accessing the Dashboard
    • Run/Process Dashboard Details
  • 📊Workflows Dashboard
    • Accessing the Dashboard
    • Replicate Devices
    • Find and Fix Inconsistencies
    • Stream Selection
    • Roles Synchronization
    • Camera Password Updater
    • Reaction Time
    • Failback
    • Priority
    • Overlay
    • Logging
    • Export Log
    • Web API
    • Tune Performance
  • 💻High Availablity in the Smart Client
    • Prerequisites
    • Creating a High Availability View
    • High Availability Live Views
    • High Availability Playback
    • High Availability Independent Playback
    • PTZ Preset Management
      • Add PTZ Preset
      • Update PTZ Preset
      • Delete PTZ Preset
    • Video Export
    • High Availablity Bookmarks
    • Unified Start/Stop Recording Control
    • Joystick Support
    • Snapshot
  • 🔗Rest API
  • 🧩Integrations
    • VMS
    • PSIM
  • 👷Migration In Progress
Powered by GitBook
LogoLogo

Library

  • Redundancy
  • XPort

Website

  • Home
  • Contact Us

Privacy Policy

  • Policy

© 2025 Vega Systems Inc. All rights reserved.

On this page
  • Prerequisite
  • Label the Servers
Export as PDF
  1. Configuration Dashboard

Server Labeling

Label the recorders as Primary or Secondary.

PreviousIndependentNextMode Selection

In this procedure, we label recorders as primary or secondary.

Note:

  • Only the cameras on the labeled servers are available and visible to RMF.

  • RMF will ignore any server without a label, and its associated cameras will remain unavailable.

Prerequisite

Complete Architecture Selection

Label the Servers

Perform the following steps to label the servers.

Note: RMF needs a minimum of two recording servers for labeling.

  1. Select Label Servers.

Step Result: The Data Refresh Tool Dialog box appears.

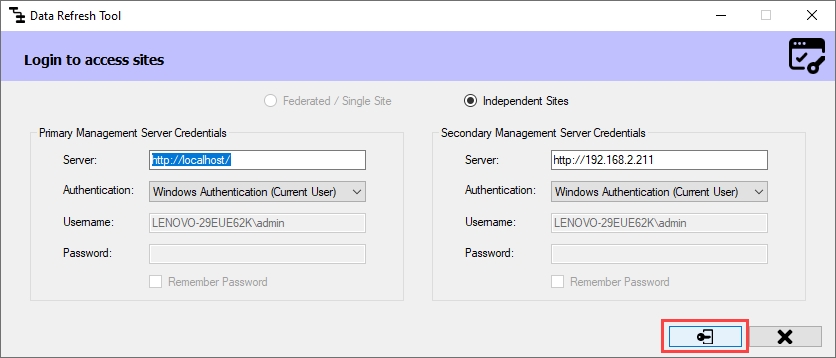
a. For an Independent architecture, the following screen appears:

Note: You must log in with administrator privileges.

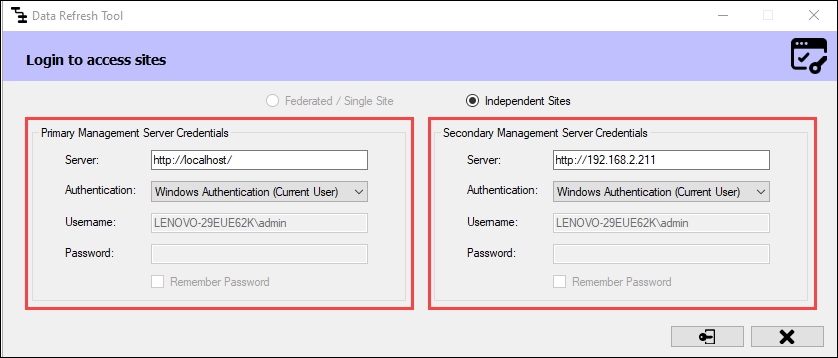
Click Connect at the bottom right corner of the screen to continue.

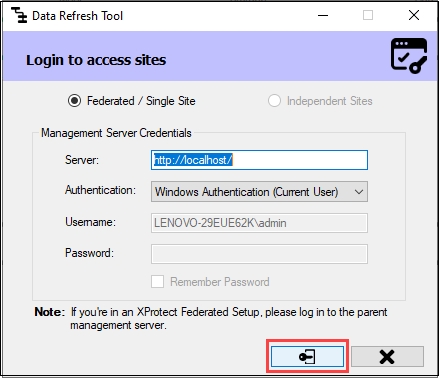
b. For Federated/Single Site, the following screen appears:

Note: If your XProtect architecture is Federated, you must log in to the Parent Management Server.

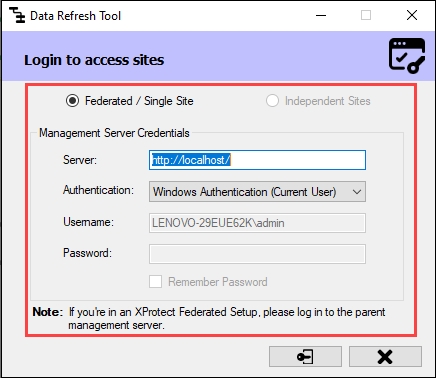
Click Connect at the bottom right of the screen to continue.

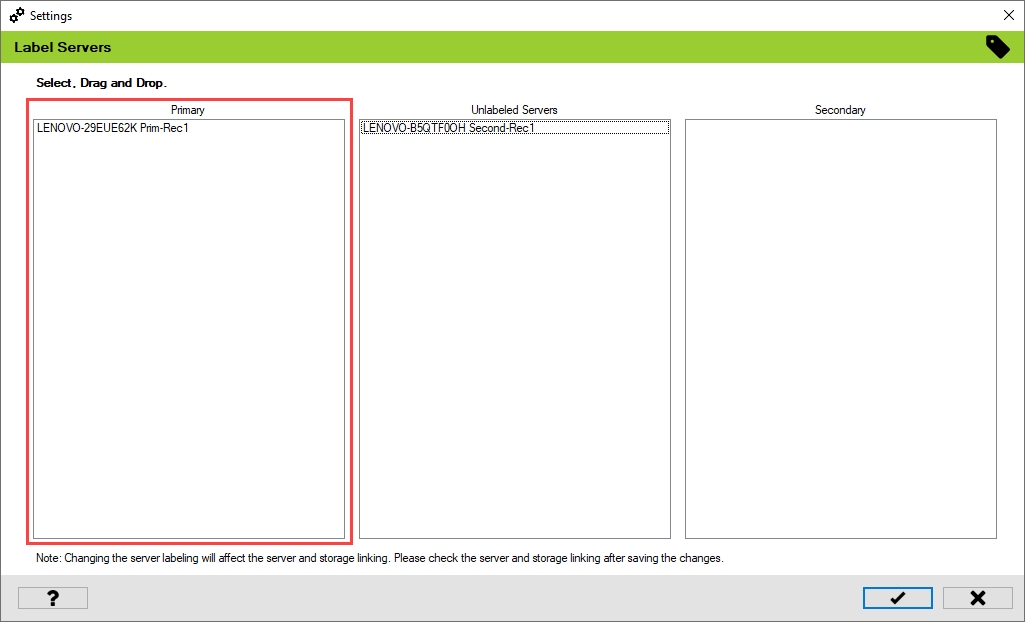
Step Result: The Unlabeled Servers section lists all the recording servers on both primary and secondary sites.

  1. For more details, click the Help icon in the bottom left corner.

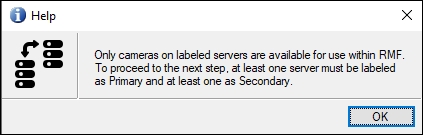
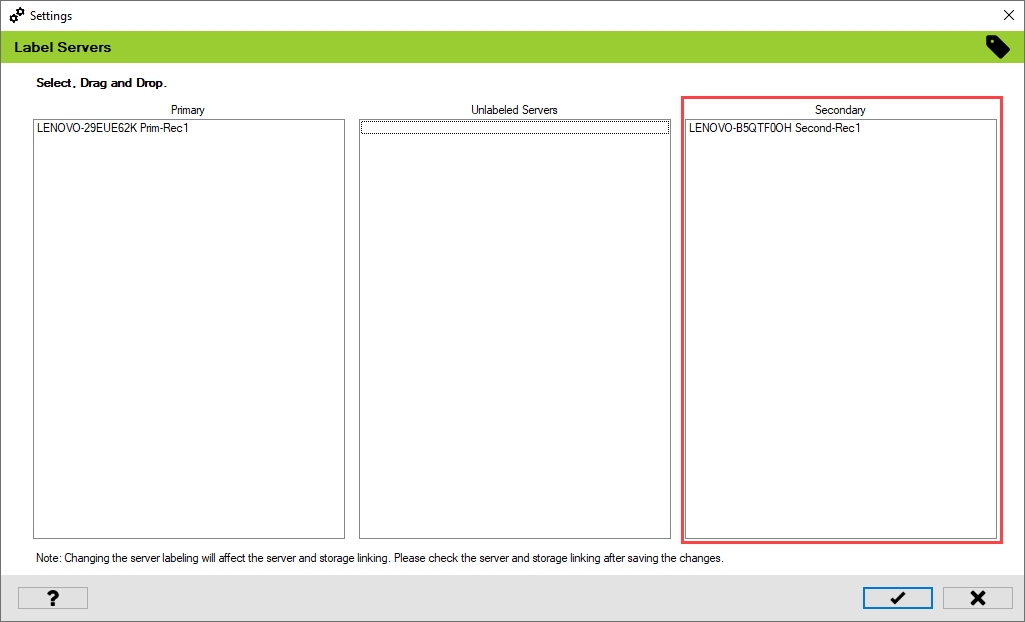
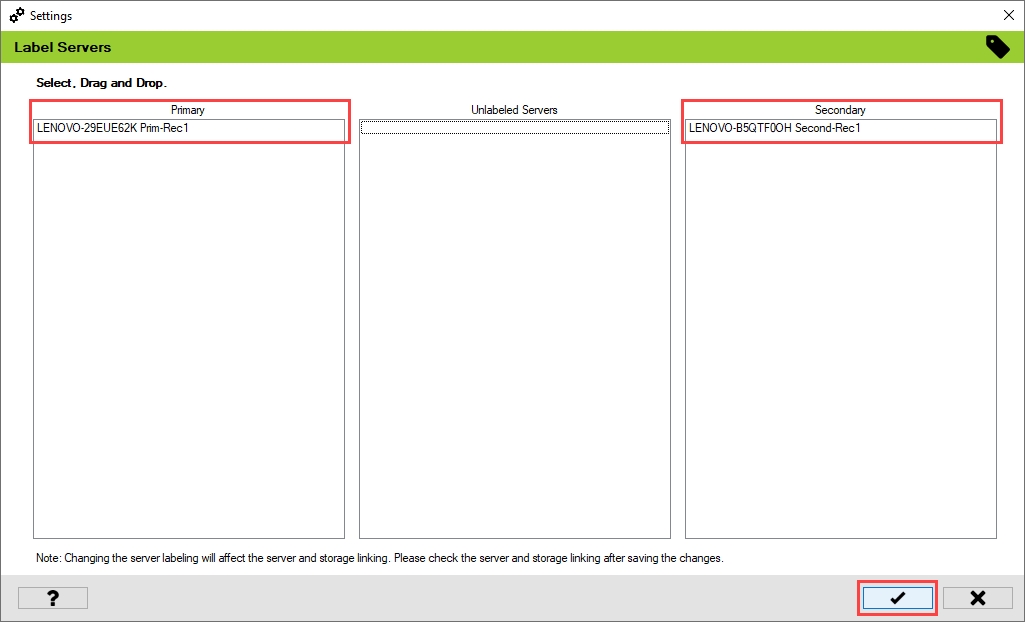
  1. Label at least one server as Primary and another server as Secondary.

Note: You must select and drag and drop the recording servers to classify them as Primary and Secondary.

  1. Click the tick mark at the bottom of the screen to save the changes.

5. Click Save in the Milestone toolbar to save the changes.

⚙️
Label Servers
Login Screen—Independent
Connect Option—Independent
Login Screen—Federated/Single Site
Connect Option—Federated/Single Site
Unlabeled Servers
Help Icon
Help Description
Primary Recording Server
Secondary Recording Server
Save Icon
Save Icon—Milestone Toolbar