
Device Selection
Select Devices to synchronize properties, groups, roles and views.
Introduction
Tick ✓ only the cameras you want RMF to keep identical across sites; any camera you leave unchecked is ignored by every downstream block. After this coarse filter, later blocks—Device Properties, Roles, Views, Device Groups—provide fine-grained switches for each individual property, allowing you to build an exact, policy-driven sync recipe.
Think of Selective Sync as the “big gate” that decides which devices enter the sync pipeline; the blocks that follow let you fine-tune what about those devices stays mirrored, giving you layered, policy-level control over redundancy.
Practical Use Cases
Multi-sensor / multi-stream cameras
Clone just the core streams to the secondary and keep the extra ones primary-only, staying within the camera’s stream limit without touching later property switches.
Restore Accidental Deletions
If a device is mistakenly removed from the primary, tick that device here, while in Restore Mode, and run Sync. RMF pulls its configuration back from the secondary without affecting other devices.
Test / maintenance devices
Exclude lab or in-repair devices upfront so they never consume storage or licenses on the DR site, saving you from having to turn off each property one by one later.
Temporary event cameras
Leave seasonal or event-only devices unsynced so you can stand them down at the primary without any DR clean-up.
Scope
The feature is limited to RMF-licensed devices. Unlicensed devices do not appear in this list.
Operation
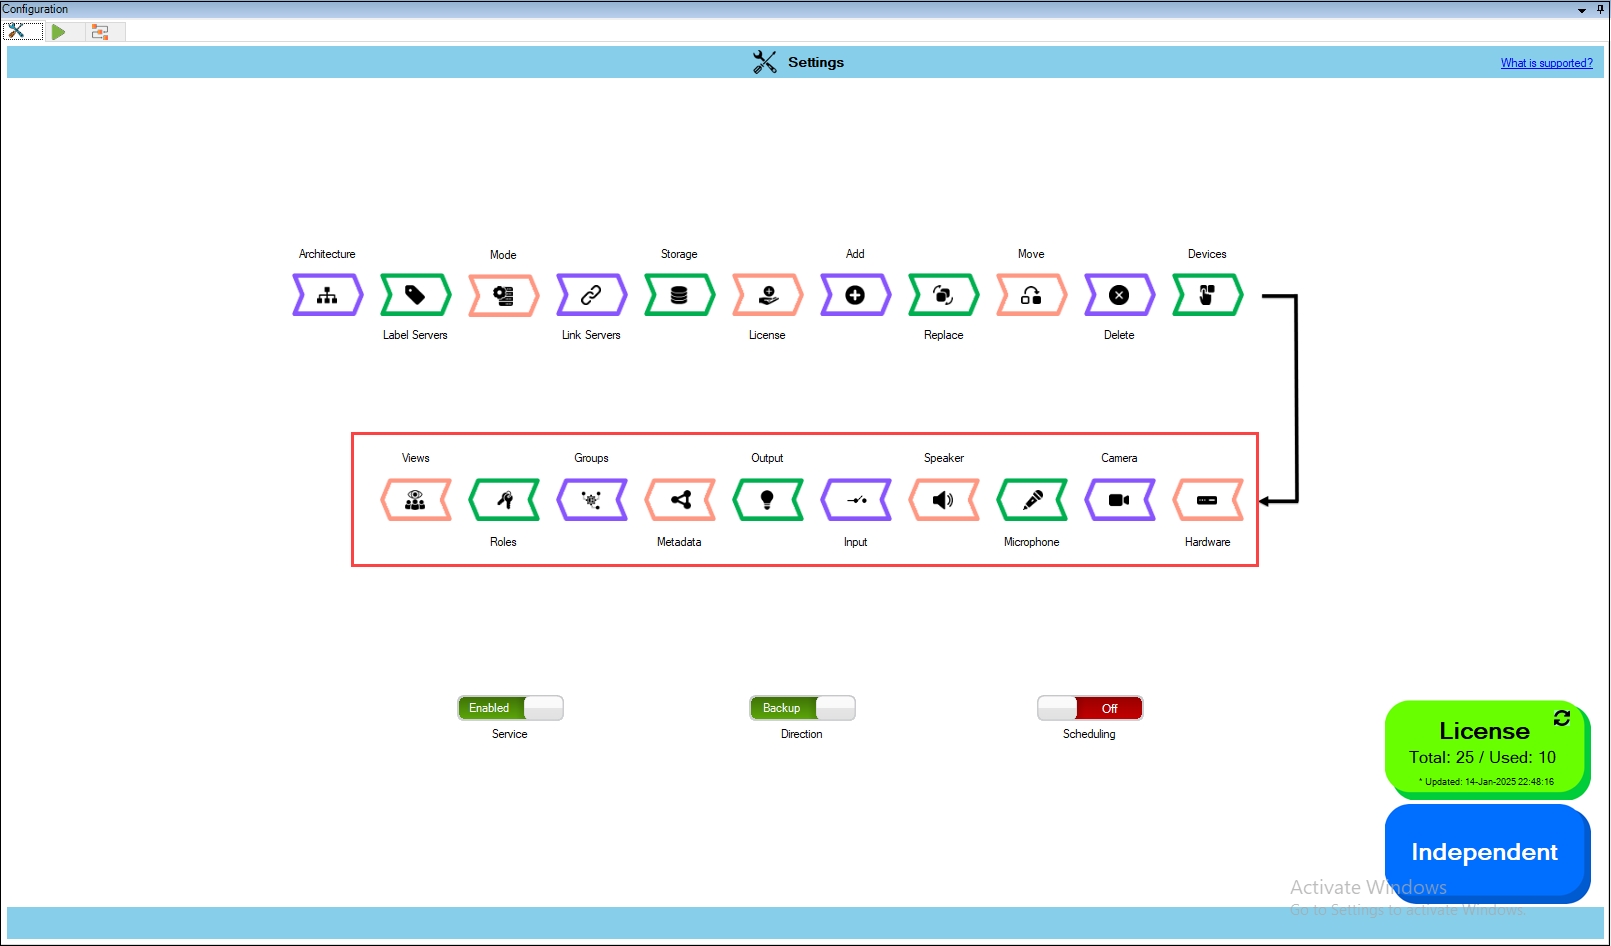
Click Devices.
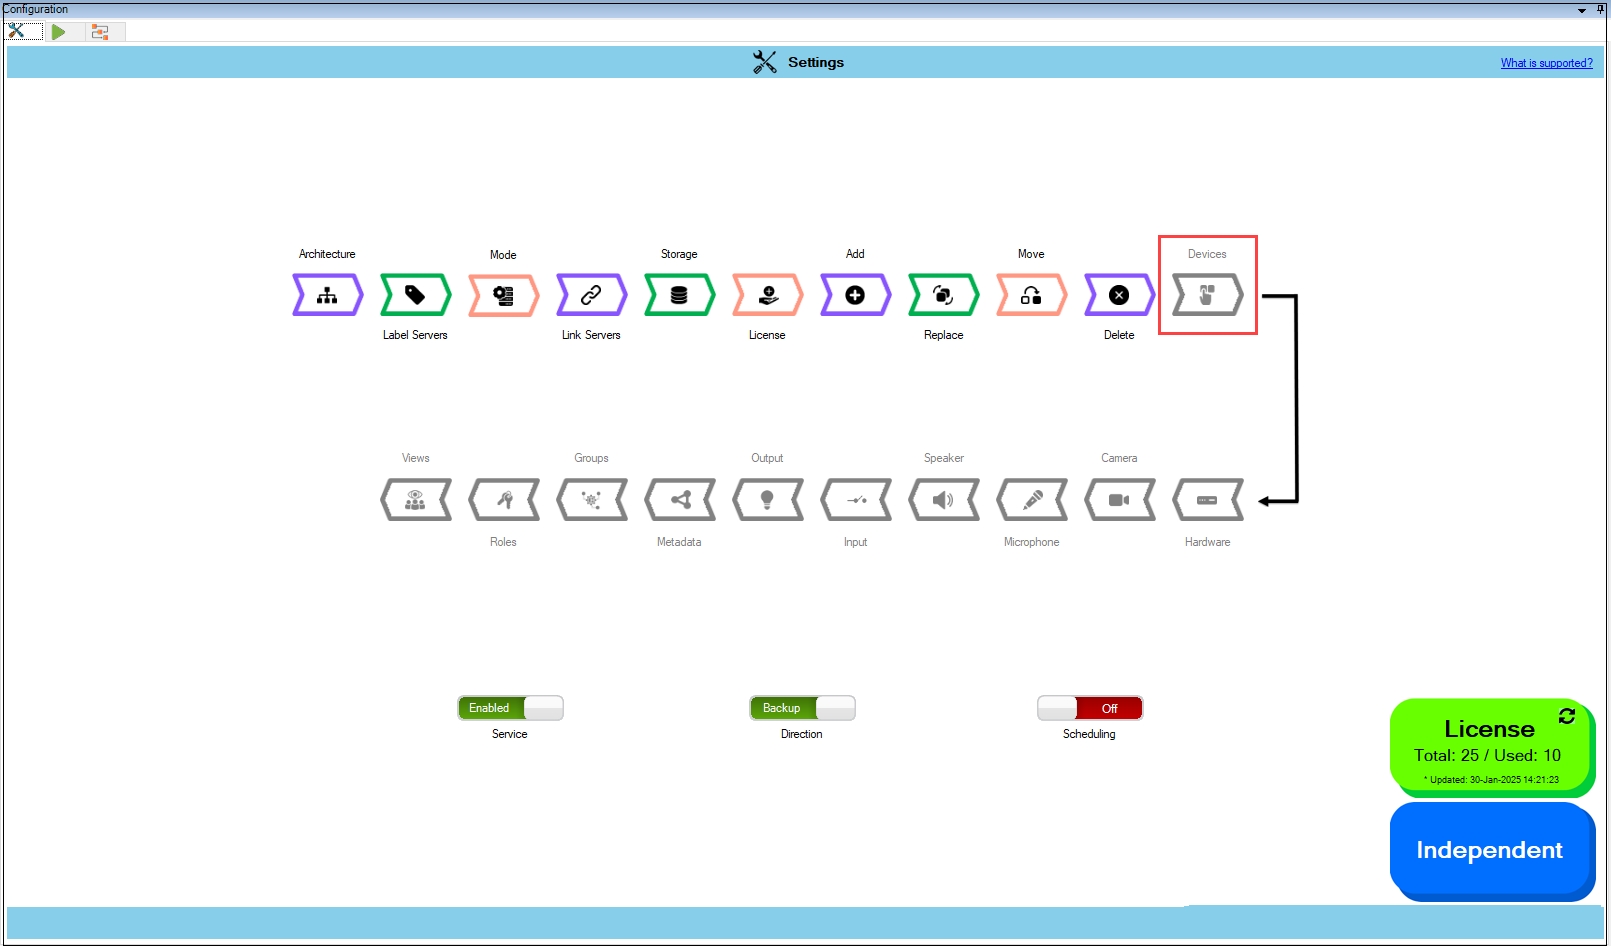
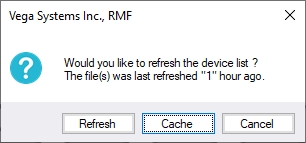
Step Result: The confirmatory dialog box appears. Select 'Refresh' to log in and retrieve the latest device list, or choose 'Cache' to continue configuration with the previously fetched device list. The Cache option saves time at large installations by using information stored from previous fetch cycles.
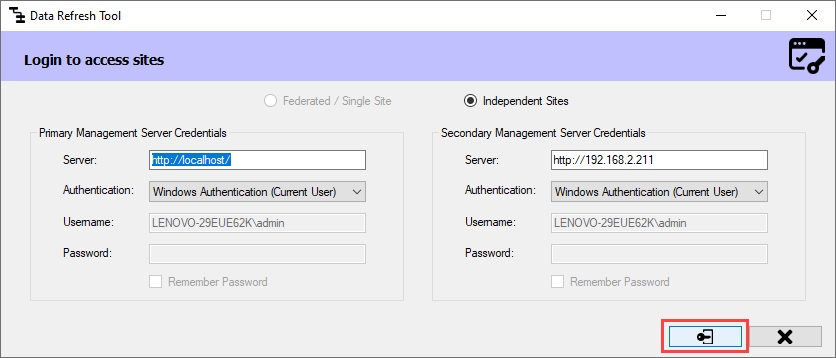
a. The following screen appears if Refresh is chosen while in independent architecture.

Click Connect at the bottom right corner of the screen to continue.
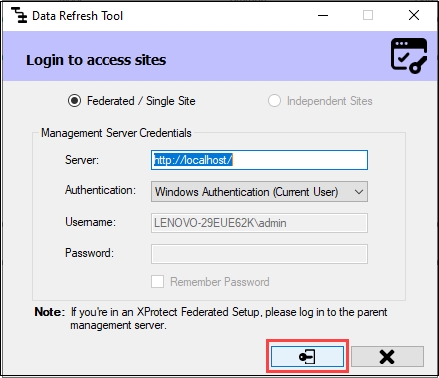
b. The following screen appears if Refresh is chosen in a Federated/Single Site.
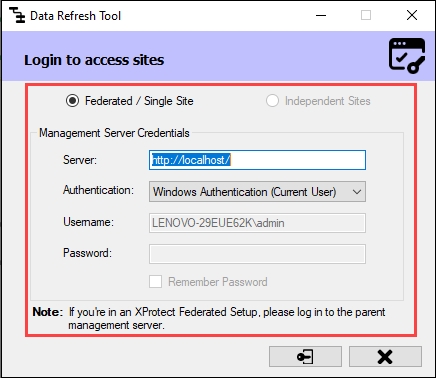
2. Click Connect at the bottom right corner of the screen to continue.
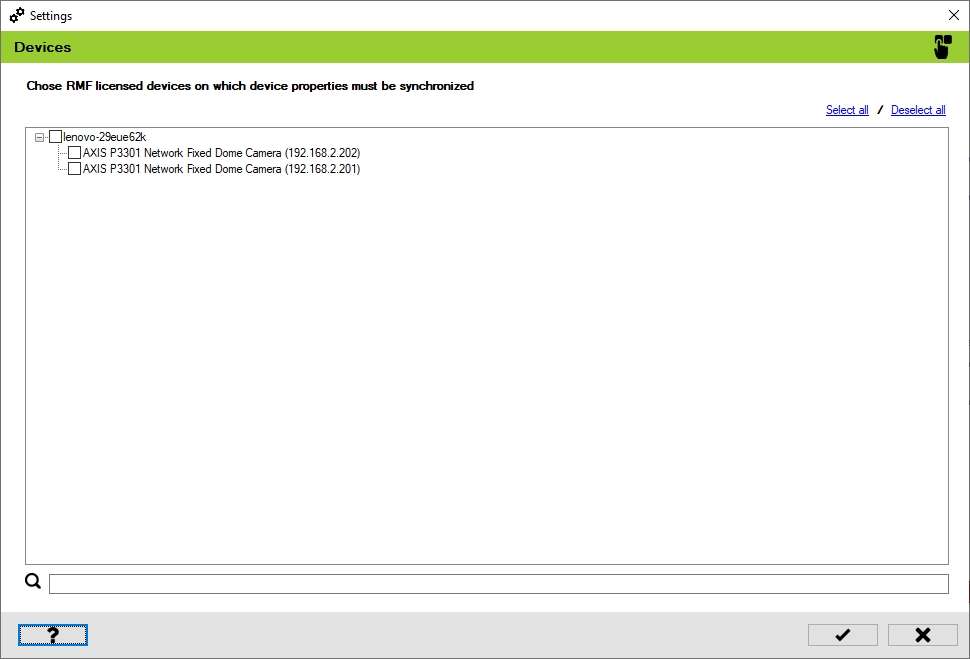
Step Result: The Devices screen appears, listing all the RMF-licensed devices. Select the devices whose properties need to be synchronized.
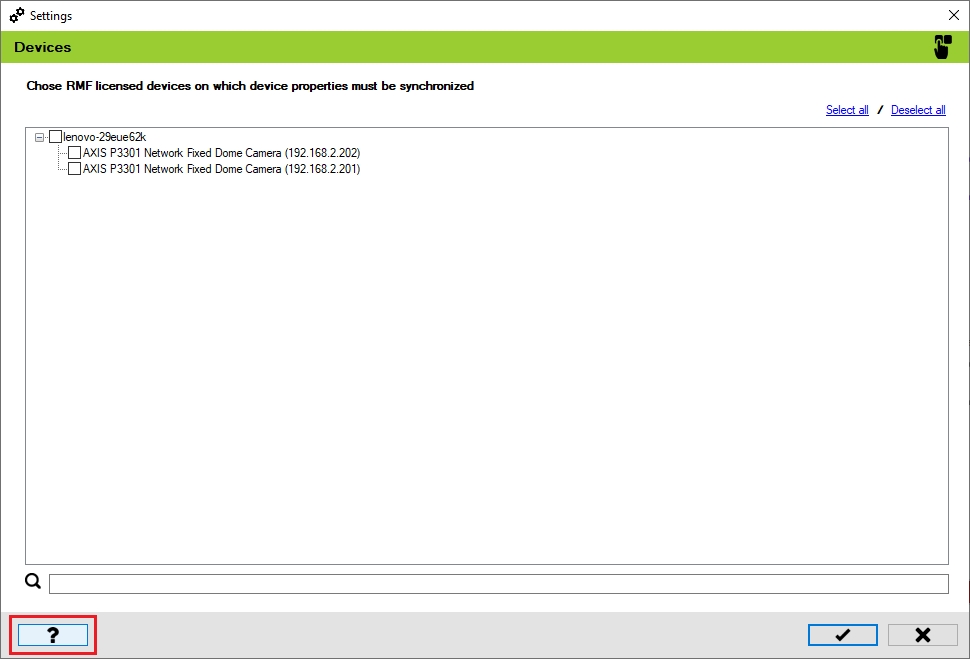
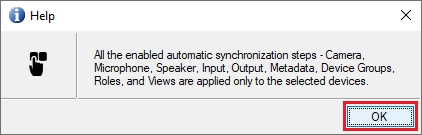
Click the Help icon to view additional information.
Select the devices to synchronize the device properties.

Click Save to save the changes.

Step Result: If no devices were selected a priori, selecting at least one device will enable subsequent synchronization filter blocks.
Click Save in the Milestone toolbar to save the changes.

Last updated