LogoLogo
Vega Systems IncRedundancyXPort
Redundancy Management Framework
  • 👋Introduction
  • 🗒️Release Notes
    • 7.4.0
    • 7.2.3
    • 7.2.2
    • 7.2.1
    • 7.2.0
    • 7.1.9
    • 7.1.8
    • 7.1.7
    • 7.1.6
    • 7.1.5
    • 7.1.4
    • 7.1.3
    • 7.1.2
    • 7.1.0
  • 🗝️Key Features
  • 💠Software Components
  • 🏗️Architecture Options
    • Federated
    • Independent
    • Single Site
  • 🗺️What to Install Where
    • Federated
      • Non-Clustered Mode
      • Clustered Mode
    • Independent
      • Non-Clustered Mode
      • Clustered Mode
    • Single Site
      • Non-Clustered Mode
      • Clustered Mode
  • 👨‍💻Installation
    • Pre-Installation
    • Manual Installation
      • RMF Services (Manual)
      • RMF Client (Manual)
    • Silent Installation
      • RMF Services (Silent)
      • RMF Client (Silent)
    • Post-Installation
      • Validate the Installation of RMF Services and UI
      • Validate the Installation of RMF Smart Client Components
    • Uninstallation
      • Manual Uninstallation
      • Silent Uninstallation
  • 🏷️License Activation
    • Online Activation
    • Offline Activation
      • Export License for Activation
      • Import Activated License
  • ⚙️Configuration Dashboard
    • Accessing the RMF Config Dashboard
    • Enable the SmartSync Service
      • Smart Sync Service Service Tray
        • Set Service Logon Settings
        • Start
        • Stop
        • Restart
        • Restart with detailed logs
        • Show Log
        • Clear Log
        • Exit
    • Set Synchronization Direction
      • Backup Mode
      • Restore Mode
    • Architecture Selection
      • Single Site
      • Federated
      • Independent
    • Server Labeling
    • Mode Selection
    • Server Linking
    • Storage Linking
    • Licensing
    • Add Camera
    • First Synchronization Run
    • Replace Camera
    • Move Camera
    • Delete Camera
    • Device Selection
    • Synchronize Hardware
    • Synchronize Camera
    • Synchronize Microphone
    • Synchronize Speaker
    • Synchronize Device Input
    • Synchronize Device Output
    • Synchronize Metadata
    • Synchronize Groups
    • Synchronize Roles
    • Synchronize Views
    • Scheduling Runs
      • Enable the SmartSync Scheduling
      • Disable the SmartSync Scheduling
  • ▶️Run Dashboard
    • Accessing the Dashboard
    • Run/Process Dashboard Details
  • 📊Workflows Dashboard
    • Accessing the Dashboard
    • Replicate Devices
    • Find and Fix Inconsistencies
    • Stream Selection
    • Roles Synchronization
    • Camera Password Updater
    • Reaction Time
    • Failback
    • Priority
    • Overlay
    • Logging
    • Export Log
    • Web API
    • Tune Performance
  • 💻High Availablity in the Smart Client
    • Prerequisites
    • Creating a High Availability View
    • High Availability Live Views
    • High Availability Playback
    • High Availability Independent Playback
    • PTZ Preset Management
      • Add PTZ Preset
      • Update PTZ Preset
      • Delete PTZ Preset
    • Video Export
    • High Availablity Bookmarks
    • Unified Start/Stop Recording Control
    • Joystick Support
    • Snapshot
  • 🔗Rest API
  • 🧩Integrations
    • VMS
    • PSIM
  • 👷Migration In Progress
Powered by GitBook
LogoLogo

Library

  • Redundancy
  • XPort

Website

  • Home
  • Contact Us

Privacy Policy

  • Policy

© 2025 Vega Systems Inc. All rights reserved.

On this page
Export as PDF
  1. Installation
  2. Manual Installation

RMF Client (Manual)

This section describes the RMF Smart Client Manual installation procedure.

PreviousRMF Services (Manual)NextSilent Installation

Perform the following steps to install the RMF Smart Client component on the Smart Client machine:

  1. Complete all the steps as described in the section.

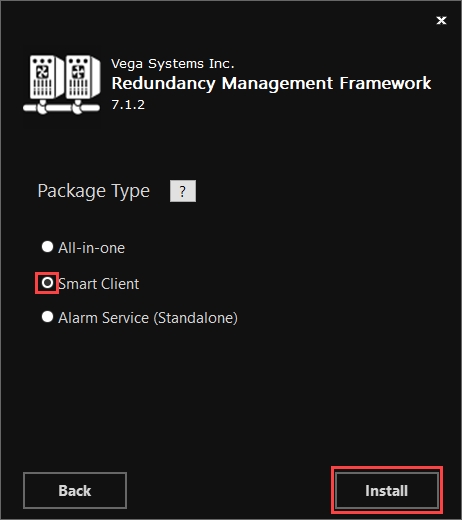
  2. Select the Smart Client option in the Package Type dialog box and click Install.

There are no features to be configured in this package type. Only Viewer is set by default.

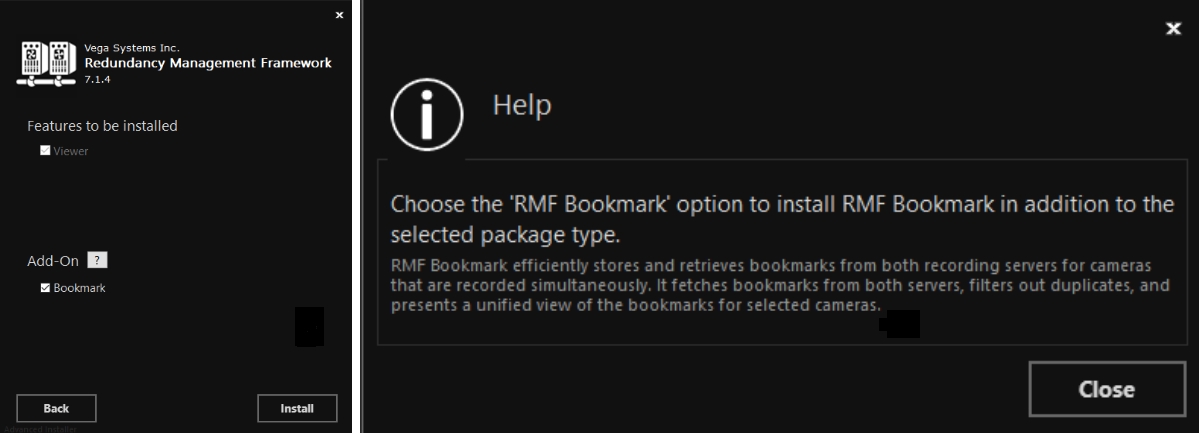
  1. Click the Help icon to view details regarding the Add-On.

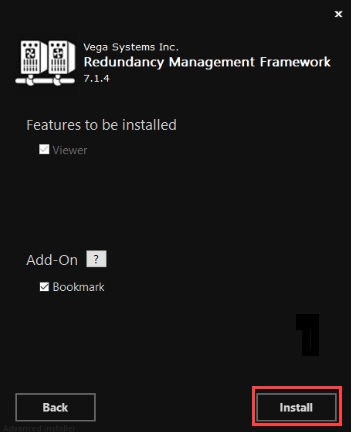
  2. If needed, select Bookmark from the Add On option.

  1. Click Install to proceed with the installation.

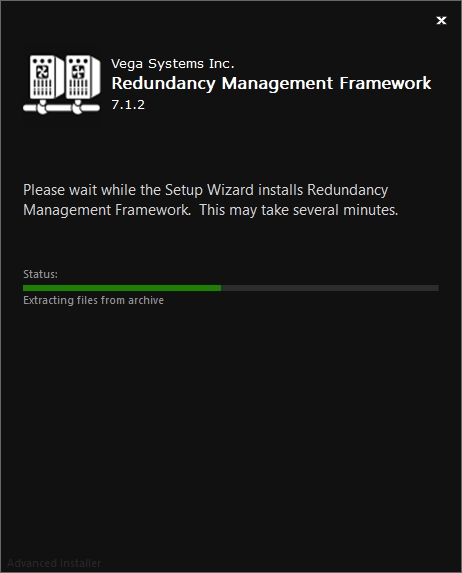
Step Result: The following screen displays the installation status.

  1. Click Finish to complete the RMF installation procedure.

👨‍💻
#pre-installation
Smart Client
Bookmark Add-on Option
SmartClient - Install
Smart Client Installation Status
Finish Installation